


We started by pulling off the corner bracket and lightly bending the corner sheets back. It became apparent real fast that much more of the slideout was damaged and that it would be easiest to repair by taking off all the slideout siding. We got another neighbor to help hold it up as we released the staples and pulled each of the long, narrow sheets off and laid them in the yard. Thankfully, my RV park was very nice about it. Most would not be. TIP: weight those siding sheets down well so the wind doesn’t twist them and throw them all over the neighborhood. Don’t ask how I know!
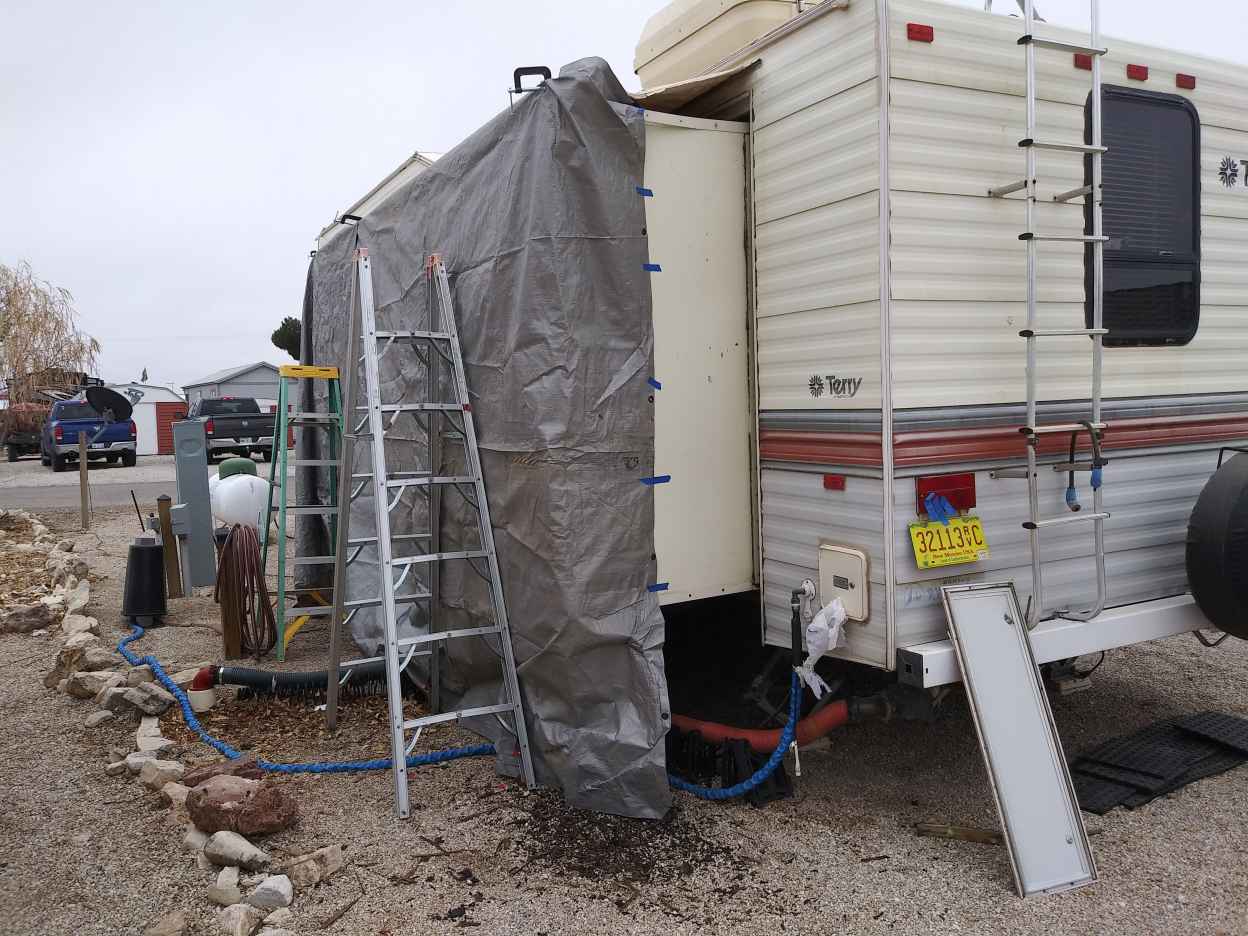
We found the leaks had started at the roof line on both sides but not in the middle. We then worked out a plan for the repair, took measurements for the lumber needed, and covered the entire wall with 2 large gray tarps and clamps. We found gray was less offensive to the neighbors than the bright blue tarps.


It took us about a month to finish what with morning cold weather and much needed breaks. Our park loaned us ladders and sawhorses. I got the job of pulling out all the old staples (a ton of them!), painting the new wood, unscrewing the metal corner and roof pieces, cleaning those pieces with Goo Gone and a plastic spatula, general cleanup, getting supplies, and providing an extra hand to hold pieces while my neighbor cut them or put them into place.
We had to remove the windows each day and put them back in with just a couple screws to hold them every night then re-tarp the whole wall.
Before we sealed the wall back up, I remembered how buggered I was not having an electrical outlet next to the couch. I ran down to the RV store and bought an RV outlet then broke into the lighting circuit which runs to both sides of the couch and installed it. I LOVE IT! I also went to the hardware store and bought a new LED light fixture to replace the old partially broken one over the dining table.
The wood sheathing we replaced I painted with a primer and sealer before installing to give the wall a better chance to survive if it leaked again per my wood guy. Most of the inner wall was still intact so we left it alone. The inside of the corner that started it is not so great and could use some more work which I’ll do later. I also need to find the slideout gaskets that were removed to replace them. This trailer is a 1993 and will not be going back out on the road anyway. I just live in it on my own lot with a 99 year lease in an RV park.


We used an electric staple gun to put the siding back on over the wood. It came out pretty good in the end though the metal was dinged up by wind. It will do and the park is happy with it.
UPDATE: Several months later and after several big storms, the slideout has not leaked!


Leave a Reply